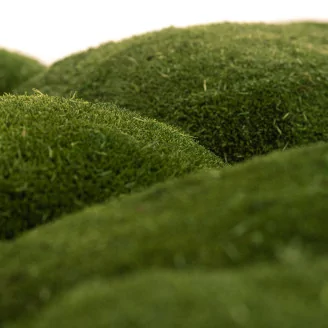


As biophilic design becomes a staple in commercial spaces, offices, and modern homes across the United States, plant walls are increasingly in demand. While living walls are beautiful, they require complex irrigation systems, natural light, and costly ongoing maintenance. The solution? Preserved plant walls.
Preserved green walls require zero maintenance, no water, and no sunlight, making them as cost-effective as they are sustainable. As experts in preserved botanicals for over 15 years, we have put together the ultimate step-by-step guide to help professionals—floral designers, interior architects, and event planners—create stunning, long-lasting preserved plant walls.
1. What Are the Best Preserved Plants for a Green Wall?
The first step to a successful green wall is choosing the right materials. Your base layer is crucial, and you can build volume and texture from there.
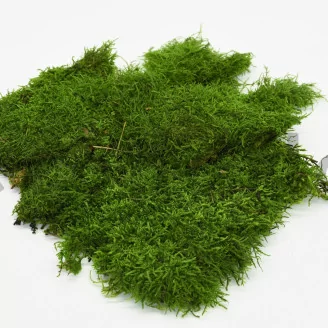
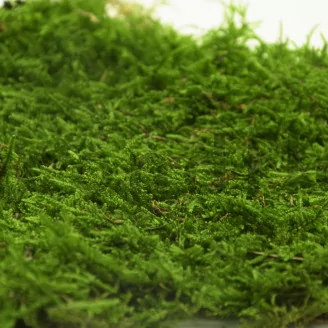
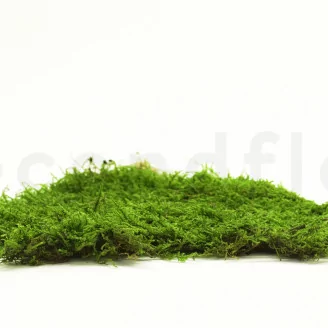
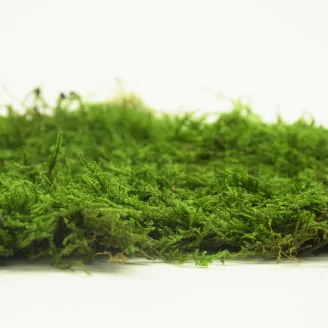
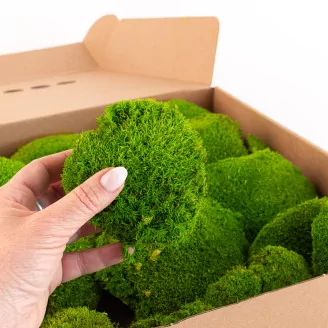
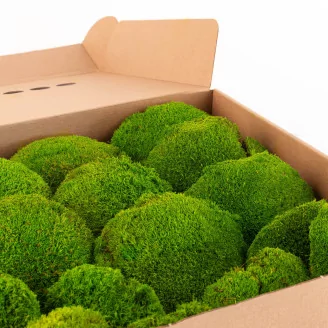
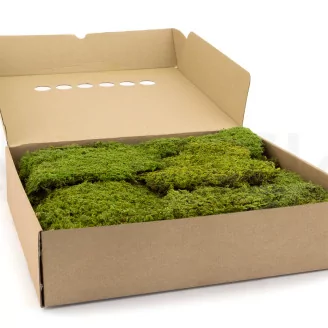
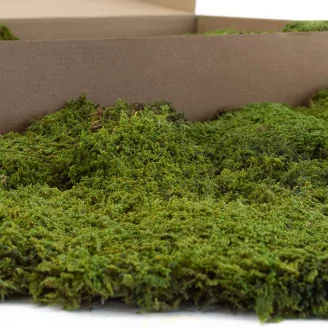
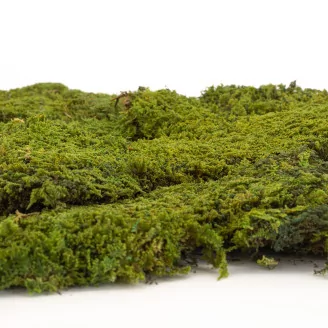
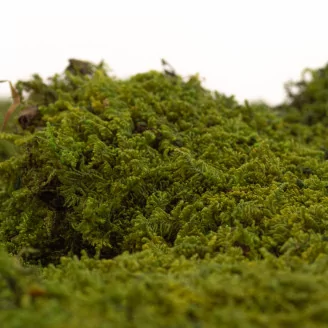
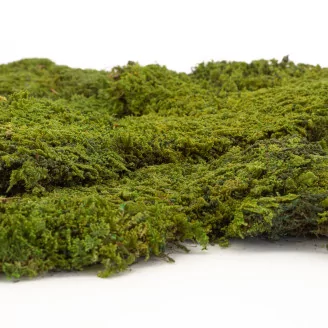
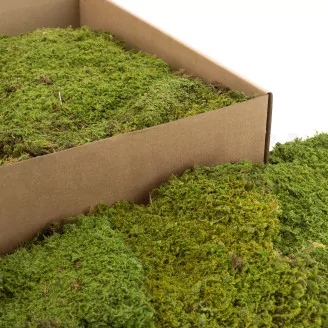
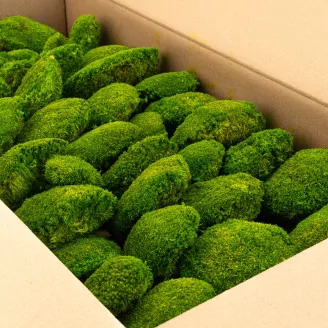
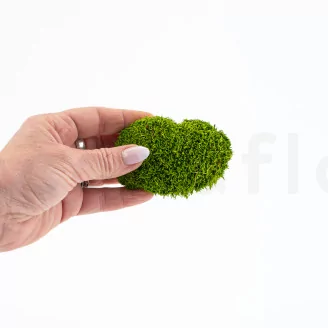
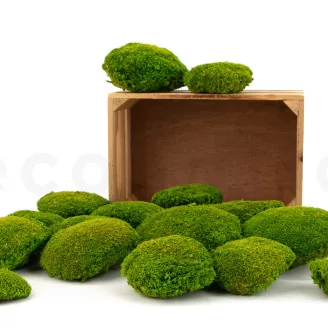
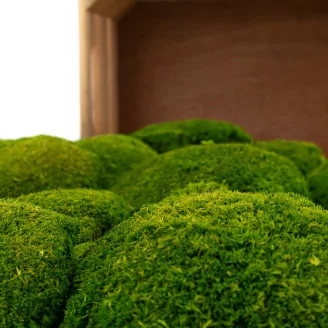
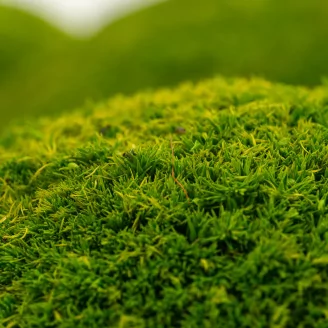
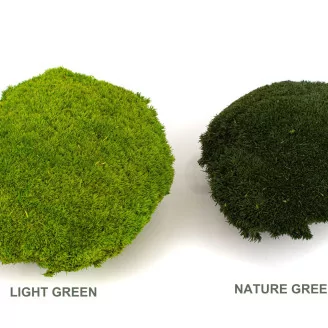
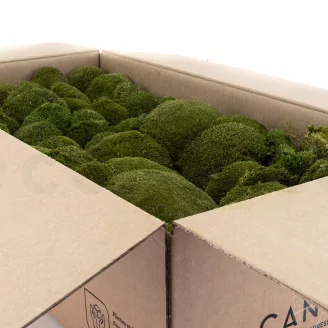
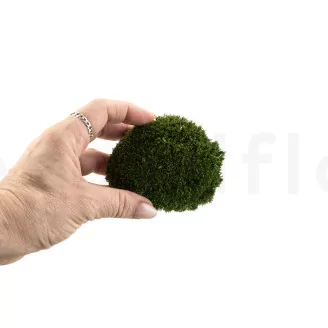
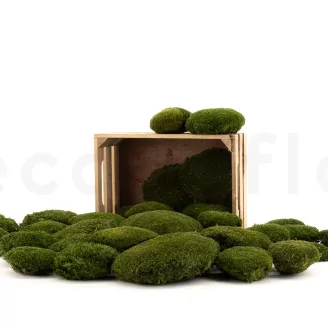
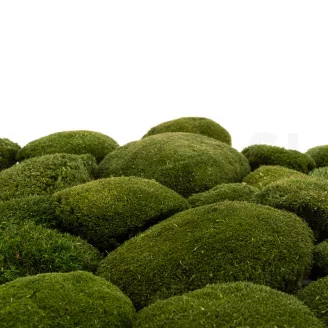
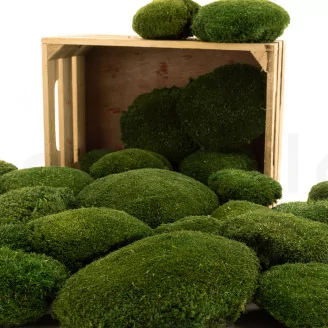
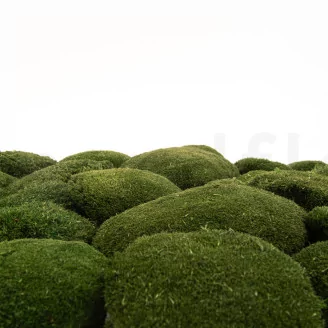
- The Base Layer: Reindeer moss (Lichen), Sheet moss (Forest moss), and Pole moss (Ball moss) are the industry favorites for covering panels seamlessly.
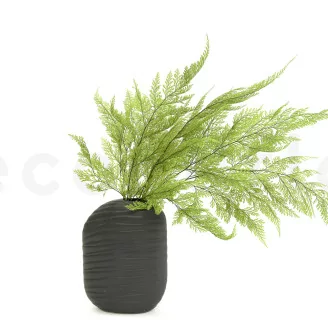
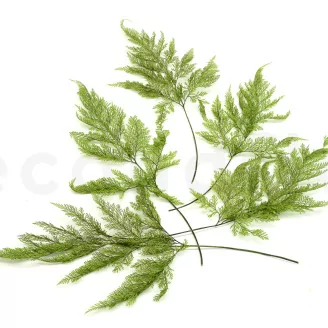
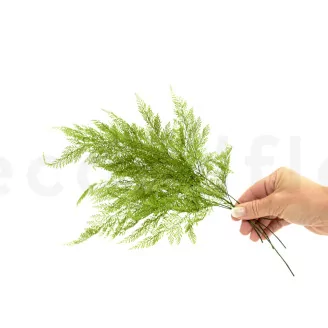
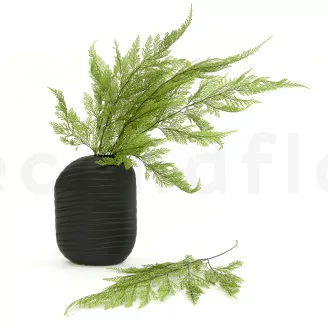
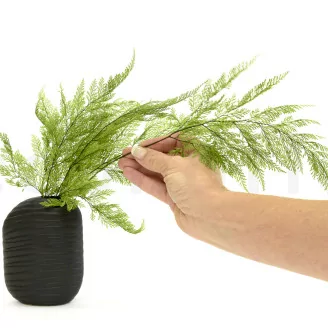
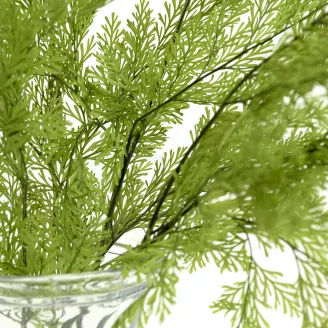
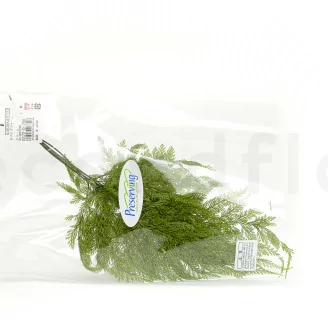
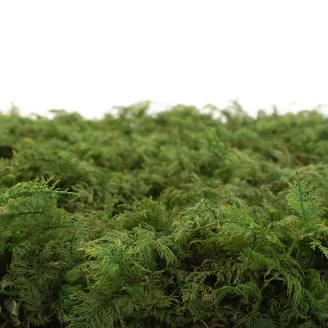
- Adding Volume and Texture: For a lush, "jungle" effect, incorporate preserved foliage such as Eucalyptus, Ivy, Salal, Ferns, Amaranthus, or Ming Fern.
- Pops of Color: Biophilic design doesn’t have to be strictly green! You can add dimension by integrating colored Reindeer moss or preserved flowers like Gypsophila (Baby’s breath) or even preserved roses.
Pro Tip: Reindeer moss is incredibly resilient and can tolerate indoor humidity levels up to 80%, making it a highly reliable and versatile choice for commercial projects.
2. How Much Preserved Moss Do You Need? (Coverage Estimates)
A common challenge for designers is calculating the exact amount of material needed. While the final amount will depend on the density and style of your design, here are our expert baseline estimates:
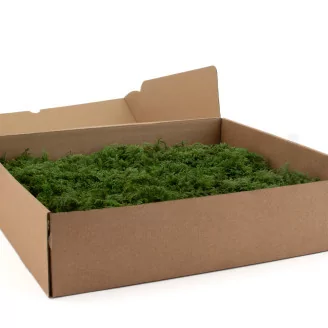
- Preserved Reindeer Moss: 1 bulk covers approximately 7 sq ft. You will therefore need approximately 1.4 bulks to cover 10 sq ft.
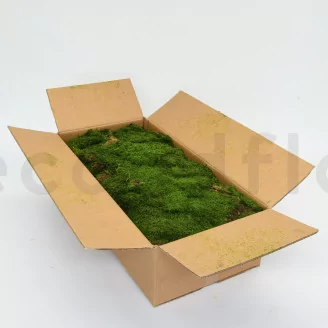
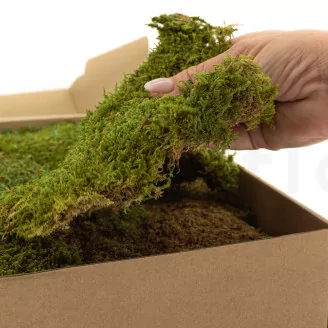
- Preserved Sheet Moss / Flat Moss: 1 bulk covers approximately 21.5 sq ft (2 sqm). You will therefore need approximately 0.5 bulk to cover 10 sq ft.
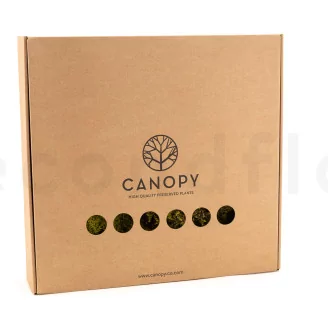
To help you plan accurately, the technical sheets on SecondFlor.us provide detailed dimensions, coverage areas, and packaging specs for every product.
Working on a custom project? Reach out to our team directly—we’ll gladly help you calculate the exact quantities you need.
3. Materials & Tools Needed for a Preserved Plant Wall
Before starting, make sure you have the right equipment in your workshop. A professional finish requires professional tools.
- Support Panels: MDF (Medium-Density Fiberboard) or Dibond (aluminum composite) panels. They do not crack when cut, resist moisture well, and provide a perfectly smooth surface for gluing.
- Adhesive: Solvent-free PVC or vinyl floor adhesive.
- Floral Foam: Flat sheets (about 1 inch / 2 to 3 cm thick) if you want to create a 3D wall and insert stems.
- Your Botanicals: The preserved moss, foliage, and flowers you selected.
- Tools: Protective gloves, a notched trowel (spatula), heavy-duty floral snips or scissors.
- Mounting Hardware: Heavy-duty industrial Velcro strips or screws to attach the panels to the final wall.
4. Step-by-Step Guide to Building and Installing Your Plant Wall
Important: Always craft your plant wall horizontally on a large flat work surface before attempting to mount it vertically.
Step 1: Apply the Floral Foam (For 3D / Jungle Effects)
If you want a lush wall with plants protruding dynamically, you need a layer of floral foam to hold the stems. Cut the foam to your desired thickness and shape. Use the PVC adhesive to glue the foam sheets onto the MDF panel. You can cover the entire board or just specific zones depending on your design.
(Note: If you are making a flat wall using only moss or lichen, skip this step and glue the moss directly to the MDF panel).
Step 2: Press and Dry
Place heavy weights (like books or wooden boards) evenly over the floral foam to press it firmly against the MDF support. Let it dry for a minimum of 12 hours. Rushing this step can compromise the structural integrity of your wall.
Step 3: Lay the Moss Base
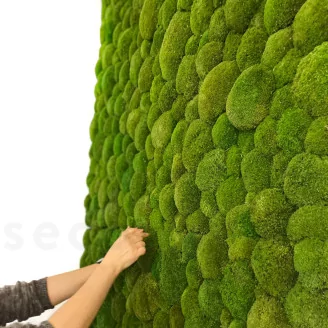
Once the base is dry, apply adhesive and start laying your moss (Sheet moss, Pole moss, or Reindeer moss) to hide the support completely.
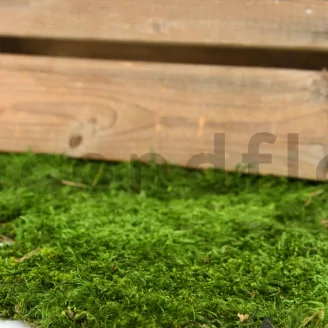
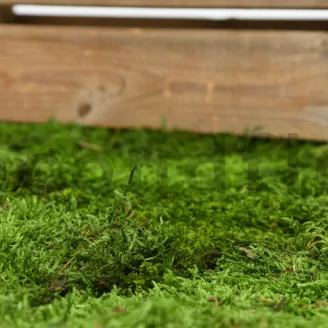
Pro Tip: When using flat Forest moss, we highly recommend curling the edges of the moss sheets inward as you glue them down. The outer edges tend to dry out faster, so tucking them in creates a seamless, durable, and clean finish.
Step 4: Add Dimension with Foliage and Flowers
Now comes the creative part! Pierce the moss layer and insert the stems of your preserved ferns, eucalyptus, or amaranthus directly into the floral foam underneath. Play with layers, heights, and textures until you achieve the desired biophilic look.
Step 5: Wall Installation
Once your panels are fully cured and finished, transport them to the location. Fix the panels to the wall using heavy-duty Velcro or by screwing them directly into the wall studs. Ensure the panels are pushed tightly against one another; the overhanging moss and plants will overlap, making the seams completely invisible. You can easily make vertical connections this way.
Ready to start your business?
TA-DA! You now know the trade secrets to creating professional preserved plant walls. It’s an incredibly profitable and creative business avenue. Head over to our Wholesale Preserved Moss and Greenery collections to source everything you need for your next project!
Frequently Asked Questions (FAQ)
Professionals recommend using a solvent-free PVC or vinyl floor adhesive. It provides an incredibly strong bond to wood or Dibond panels without releasing harsh chemicals that could damage the preserved botanicals.
No. Preserved plants are designed strictly for indoor use. Exposing them to direct sunlight, rain, or outdoor elements will cause them to fade and deteriorate.
Absolutely not. They require zero maintenance—no watering, no misting, and no sunlight. Occasional gentle dusting with a soft feather duster is all that is needed.