



The holiday season is one of the best opportunities of the year to make your storefront work harder for your business.
The good news: you don't need a visual merchandiser or a full weekend. In our latest video from The Green Room, we walk you through three DIY Christmas window display ideas, each one ready in under 10 minutes. One for the floor of your window, one for the ceiling, and one for the back wall. Put them together and you get a holiday window people actually stop for.
Prefer to read? Here's everything from the video, step by step, with the full supply list.
Why your holiday window is your best salesperson
From Black Friday to Christmas Eve, the people walking past your store have one thing on their mind: gifts. Your window is the first thing they see, and it keeps working after you lock the door at night.
A window that looks festive and a little unexpected makes people slow down, look, and walk in. A bare or tired one makes them keep walking.
Everything in these three ideas is made with preserved or faux greenery. That changes the math:
- No upkeep. No watering, no dropped needles, no wilting by mid-December.
- It lasts all season. Your window looks as good on December 23 as it did on Black Friday.
- You can reuse it. Pack everything in a box in January and bring it back next year.
So think of it less as a decoration expense and more as a marketing investment you make once and use for years.
Idea 1: Preserved moss gift boxes for the window floor
This is the easiest of the three, and it instantly gives your window a festive base.

What you need
- 3 to 5 cardboard boxes in different sizes (shipping boxes and shoe boxes work fine)
- A hot glue gun
- Preserved sheet moss
- A wide red ribbon in satin or velvet, or ready-made bows
Step by step
- Prep your boxes. Pick 3 to 5 sizes. Variety is what makes the display work.
- Cover them in moss. Use a hot glue gun for a quick hold and cover the box one side at a time, except the bottom, so it sits flat and stable. Apply the glue to the back of a piece of preserved sheet moss, then press it onto the side of the box for a few seconds. Move on to the next side and repeat. The moss hides small dents and flaws, so there’s no need to be perfect.
- Wrap them up. Tie the wide red ribbon around each box in a cross and finish with a big bow on top. The bigger the bow, the bigger the impact.
- Style the display. Arrange the boxes at different heights in a pyramid shape. It's a classic visual merchandising trick: it fills the space and gives your window volume right away. Groups of 3 or 5 work best.
Mistakes to avoid
- All the same size. Identical boxes lined up look like a row of soldiers. Mix the sizes.
- Pushed against the glass. Leave some breathing room between the boxes and the window so the eye can move around the display.
Make it yours
Switch the ribbon to your brand colors: gold, white or green velvet all work. If your window is small, one big moss box in the right spot is enough.
Idea 2: Disco balls with preserved greenery for the ceiling
Disco balls for Christmas? It sounds unexpected, and that's exactly why it works. This idea uses the space most shops forget about: the top of the window.

What you need
- Disco balls in 2 or 3 different sizes
- Preserved baby's breath
- A few sprigs of preserved eucalyptus
- Floral foam and hot glue
- Clear fishing line and ceiling hooks
- Ribbon
Step by step
- Pick your sizes. Choose disco balls in 2 or 3 sizes.
- Add a crown of greenery. Glue a piece of floral foam around the hanger at the top of each ball. Insert sprigs of preserved baby's breath into the foam to form a small wreath.
- Finish with eucalyptus. Tuck a few sprigs of preserved eucalyptus between the baby's breath.
- Hang them at different heights. Use clear fishing line: one high, one low, one in between. You're building a cascade, not a garland.
Pro tip: light them up
Aim a few spotlights at the disco balls. After dark, they scatter light all over your window, and people can see it sparkle from down the block.
Mistakes to avoid
- Too much greenery. The ball has to stay visible to catch the light. Keep the crown light.
- Everything at the same level. If all the balls hang at one height, it reads as a garland instead of a cascade.
Tip
Group the balls in 3s or 5s: odd numbers are more pleasing to the eye. If your ceiling is very high, use longer fishing line to bring the balls down to eye level.
Idea 3: A red hydrangea wreath wall for the back of your window
This is the one that stops people on the sidewalk. The idea is simple: make one wreath, then repeat it. One wreath is pretty. A whole wall of them turns your window into a real holiday backdrop.
One wreath takes under 10 minutes. A full wall naturally takes longer, depending on how many you make, but the result is worth every minute.

What you need (per wreath)
- 1 cardboard wreath base
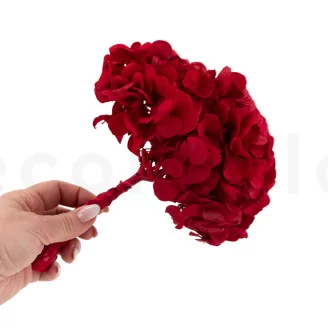
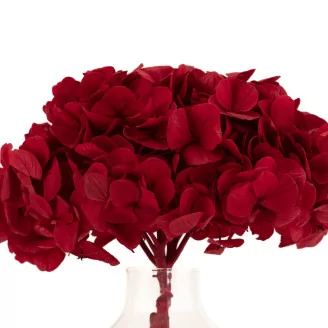
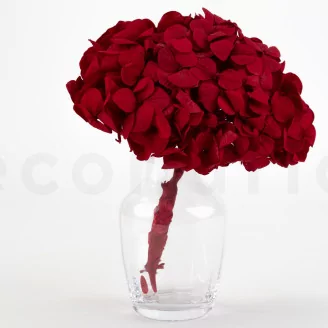
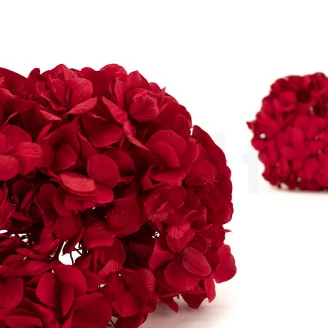
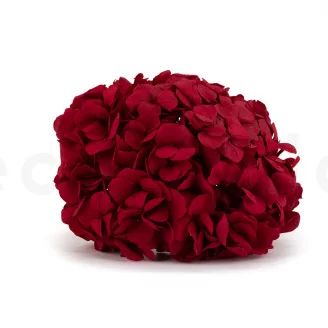
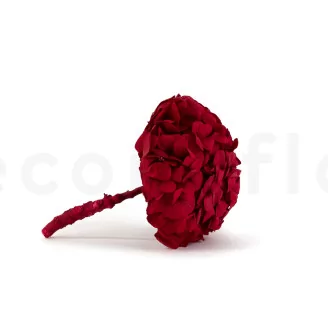
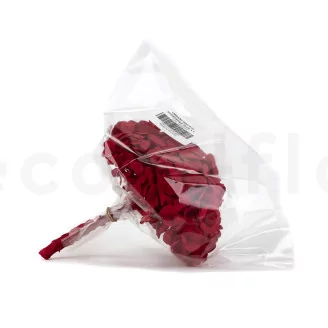
- 4 units of red preserved hydrangea
- 5 gold preserved roses
- Hot glue
- Removable adhesive hooks for the back wall, and a tape measure to space the wreaths evenly
Step by step
- Start with the cardboard base. It's light, affordable and easy to work with, which helps when you're making several wreaths at once.
- Poke small holes all over the base.
- Add the hydrangea. Insert small stems of red preserved hydrangea into the holes, one by one, until the base is fully covered. Hydrangea gives you a lot of volume with very little product.
- Add the gold roses. Tuck a few gold preserved roses in here and there. They catch the light and add an elegant, festive touch against the red.
- Repeat. Make several identical wreaths and hang them on the back wall of your window in a neat grid, evenly spaced.
On its own, a wreath is a detail. Repeated, it becomes a pattern, and a pattern is what catches the eye from across the street.
Mistakes to avoid
- Gaps between the hydrangea heads. If the cardboard shows through, the wreath looks unfinished. Fill every gap.
- Uneven spacing. Repetition only works when it's precise. Measure, and keep the same distance between every wreath.
Make it yours
Pick another rose color to match your brand. If your window is small, a single row of three wreaths already does the job.
Bonus: carry the look inside your store
Your window brings people in. Keep the story going once they're inside by repeating the same elements on a smaller scale:
- Above your shelves: two or three disco balls.
- At the register: a small moss gift box.
- On the fitting room door: one of your hydrangea wreaths.
That last one is an instant Instagram moment. Customers take a mirror selfie, post it, and you get free advertising. You're building one continuous experience, from the sidewalk to the fitting room.
Your complete supply list
| Idea | Preserved greenery | Other supplies |
|---|---|---|
| Moss gift boxes | Preserved sheet moss | Cardboard boxes in 3 to 5 sizes, hot glue gun, wide red ribbon (satin or velvet) |
| Disco balls with greenery | Preserved baby's breath, preserved eucalyptus | Disco balls in 2 to 3 sizes, floral foam, hot glue, clear fishing line, ceiling hooks |
| Hydrangea wreath wall | Red preserved hydrangea (4 units per wreath), gold preserved roses (5 per wreath) | Cardboard wreath bases, hot glue, removable adhesive hooks, tape measure |
| In-store echoes | Leftovers from the 3 ideas | Extra disco balls, 1 small gift box, 1 extra wreath |
FAQ
Preserved greenery needs no water and doesn't shed, so your display stays fresh-looking from Black Friday through the end of the holiday season. Keep it out of direct, prolonged sun and away from humidity to protect the colors. Stored in a box between seasons, it can be reused the following year.
Ideally before Black Friday and Small Business Saturday, so it's in place for the busiest shopping weekend of the year. With these three ideas, you can set up a complete window in an afternoon.
Yes. Scale each idea down: one large moss gift box on the floor, three disco balls overhead, and a single row of three wreaths on the back wall.
No. A few visual merchandising rules do most of the work: vary heights, group items in odd numbers, leave breathing room and repeat a single element to create a pattern.
Your turn
Moss gift boxes for the floor, disco balls for the ceiling, a wall of wreaths to tie it all together: three ideas, a few minutes each, and your window is ready for the holidays.
Watch the full tutorial on our YouTube channel, The Green Room by SecondFlor, and tell us in the comments of the video which idea you're trying first. Subscribe for more maintenance-free greenery ideas for your business.