BUSINESS
How to create and install a preserved plant wall the right way.
As biophilic design makes its journey in the home of thousands of Americans, plant walls are increasingly in demand. They can be living or preserved. Preserved plant walls ask for no maintenance and are as cost-effective as they are sustainable. As experts in preserved plants for more than 15 years, we have combined, especially for you, the best tips for creating your own plant walls for your business.
What plants should you use in preserved plant walls?
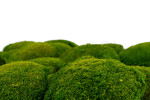
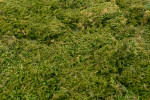
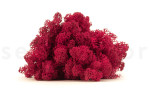
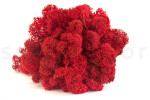
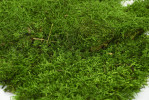
The base chosen for plant walls is often reindeer moss, rock moss or flat moss. However, you can use ball moss, eucalyptus, ivy, salal, other forest mosses, amaranth and so on. Some designers also use flowers and colorful reindeer moss to complete their designs. This is the case of the talented Amanda from Planted Design, who we had the pleasure to interview for our magazine. To know how much material you should purchase, all the information you need about our preserved plants (dimensions, colors, packaging, flat cover…) are indicated on their technical sheets available on secondflor.us.
How to create a preserved plant wall step by step?
- We recommend using MDF panels as a working support. They have many advantages for the creation of plant walls, as they do not present any risk of breakage when cut, their fine texture offers a neat result, their resistance to humidity and their perfectly homogeneous characteristics also facilitate the deposit of moss.
Note that it is important to work flat and to screw the plates to the wall after having glued the plants. - Between your MDF support and the preserved moss base, it is preferable to glue floral foam sheets to allow for the installation of greenery (for a jungle or voluminous effect). As a matter of fact, if you would like the wall to be composed only of preserved plant moss, please skip this step.
Tip : It's generally advisable to curl the edges of moss sheets on the inside, as this part tends to dry out more quickly. - We recommend using PVC or vinyl floor glue, preferably solvent-free.
- Cut the floral foam to the desired thickness and shape. Cover the entire surface or specific areas according to your design. Glue it and wait for a minimum of 12 hours to dry before planting.
Tip: Place weights on the floral foam parts to press them against the MDF support. - Add flowers and plants to complete your green wall.
When fixing to the wall, the plates must be well tightened between them so that the junction is invisible. It is possible to make vertical connections.
TA DAA, you now know how to create plant walls, and you can make it a business. The only thing missing is the plants, so run to our shop.